

Need Help?
Please leave your contact information to get our latest catalog
Get In Touch Now >

Author:SOP Work Pods Manufacturer TIME:2026-11-09
The interviewer looks up from a question, the guest turns to answer, and both microphones hear the exchange. Those ordinary movements are the real subject of a two-person recording demonstration. A portable isolation booth should not be selected from an empty interior photograph or a polished interview excerpt alone. Before ordering, establish whether the proposed configuration supports both people and their equipment, then obtain separate recorded tracks that can be reviewed outside the demonstration. The method below is a proposed buyer audition, not a completed trial or a promise about any enclosure.
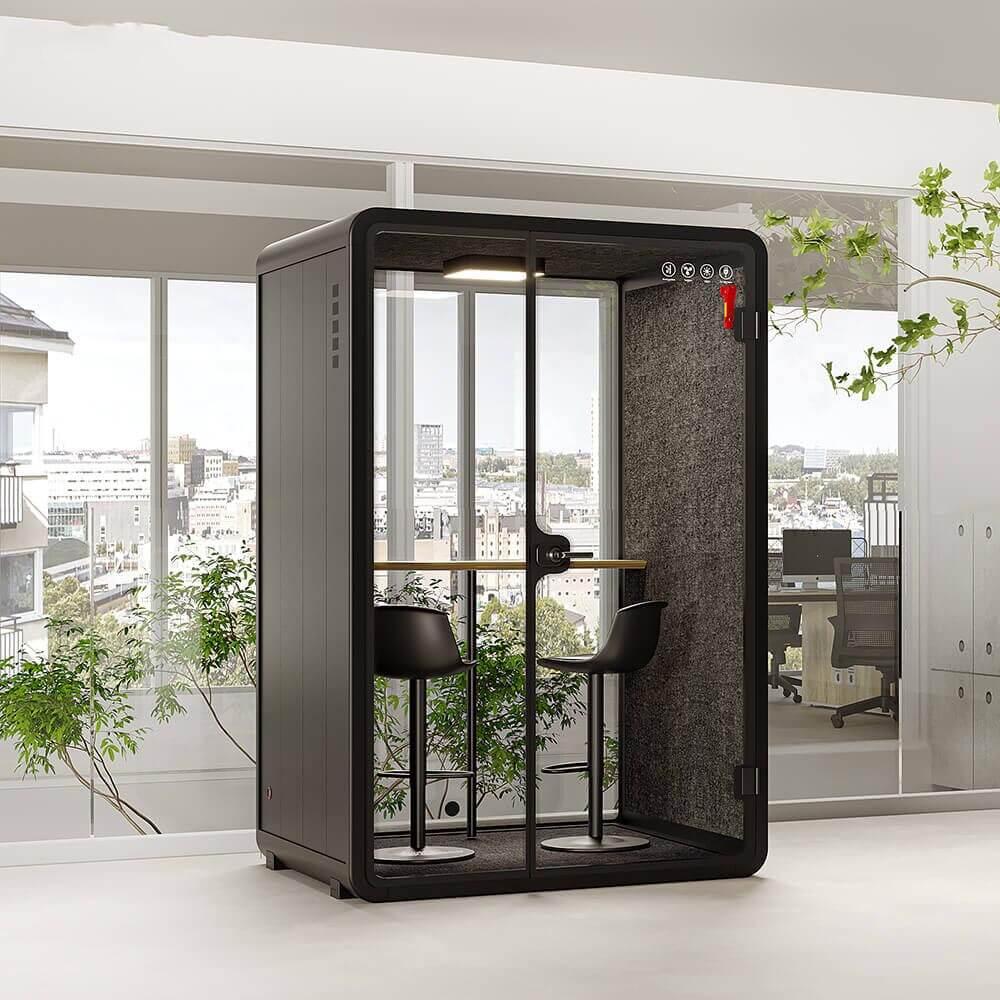
The public recording range makes a useful distinction. SOP-RB105 is listed with a 2100 x 1600 x 2200 mm exterior and a 1900 x 1400 x 1940 mm interior; its detail page states two to four occupants. The smaller RB104 listing describes an 810 x 810 x 1990 mm interior. These are published product references, not proof that two people, microphone arms and a particular table can work together. Start the interview proposal with the larger reference instead of adding a second seat to a small single-user layout.
Hypothetical planning example: an interviewer and guest occupy the proposed RB105 configuration while the recording operator works outside. Their two microphones and notes need space; the operator's absence does not remove cables or monitoring requirements. Confirm the actual seating and continuously ventilated occupied arrangement before the audition. The dimensions do not establish doorway clearance, two usable microphone positions or an acoustic result, and the public capacity label does not guarantee every furniture arrangement.
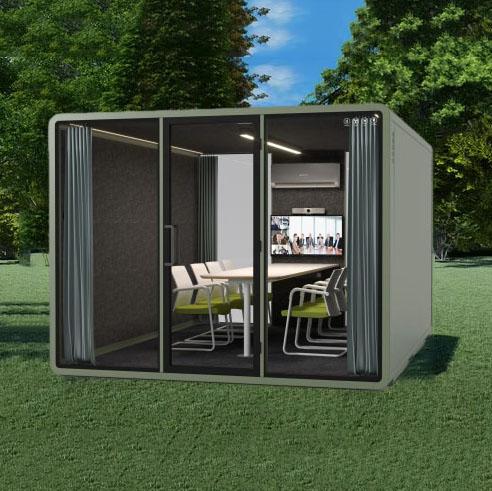
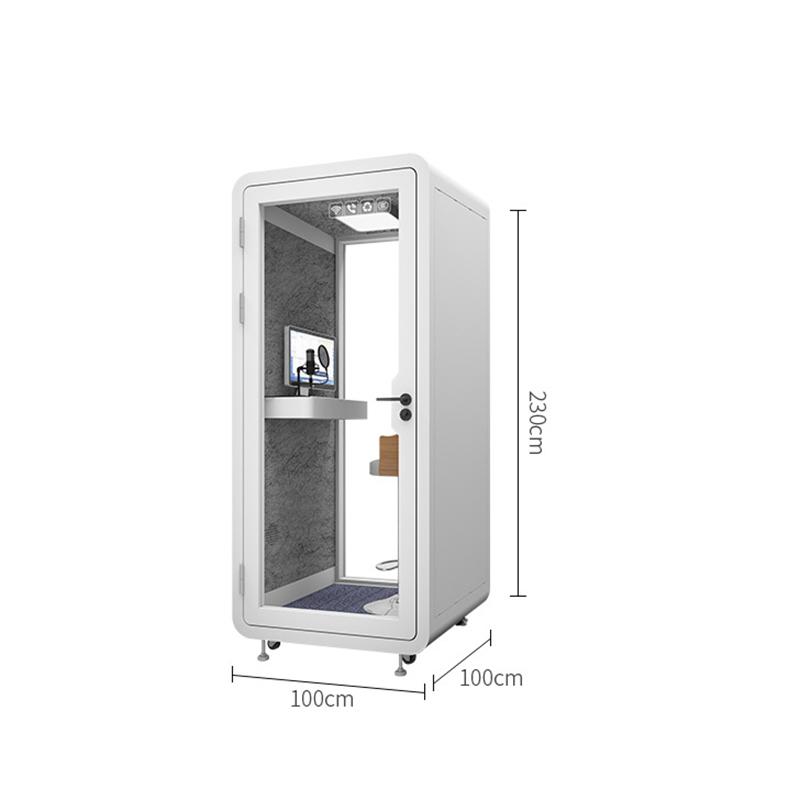
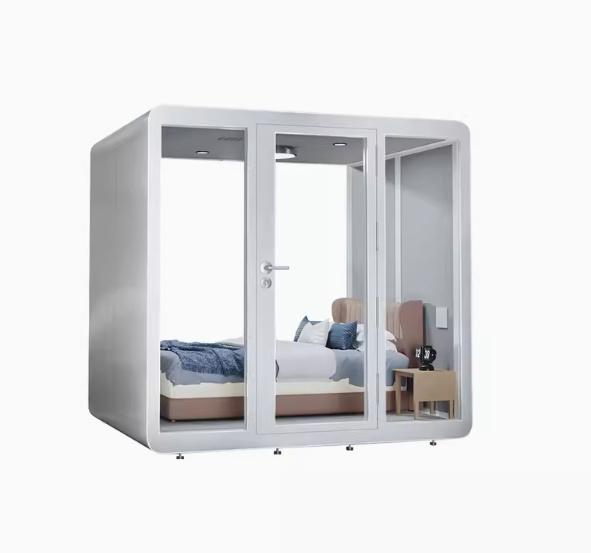
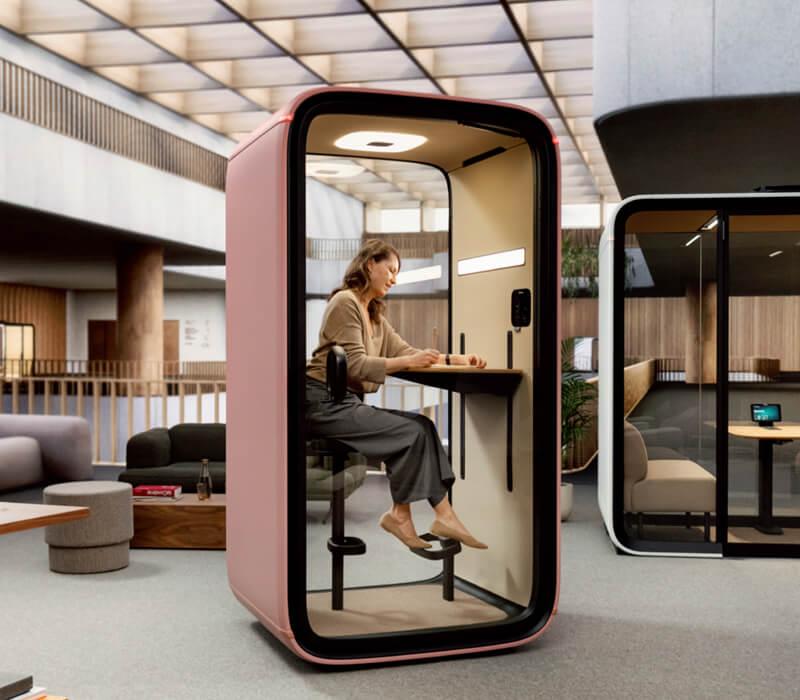
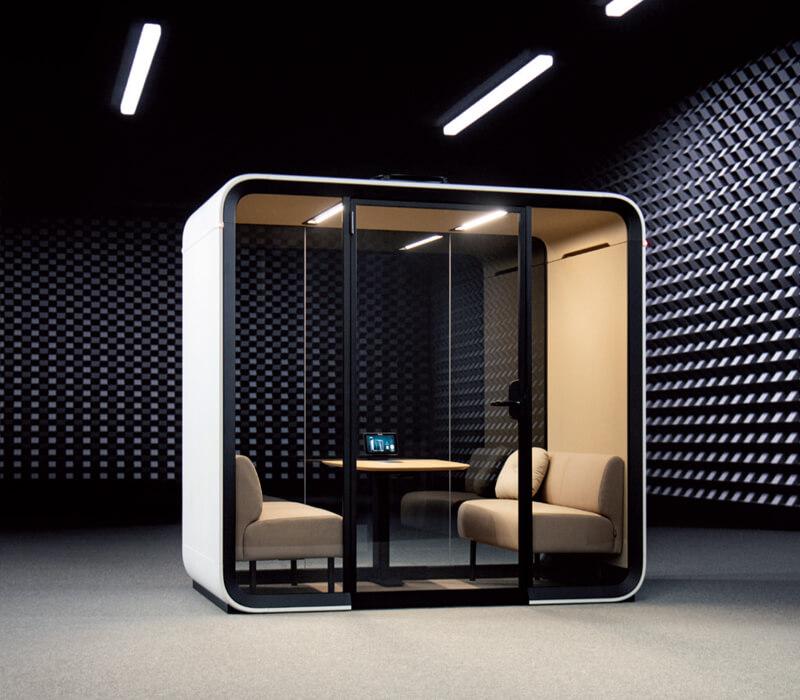
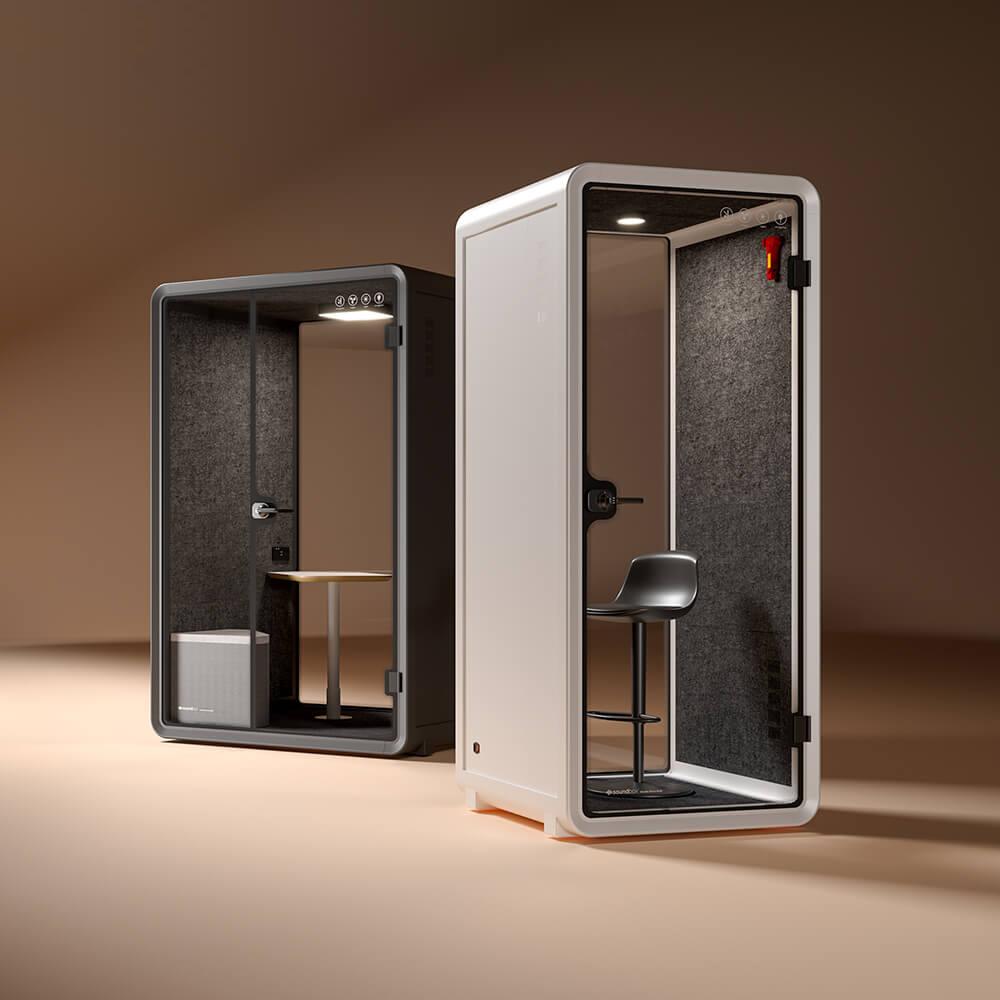
The word portable concerns an approved handling method, not casual movement: RB105 is publicly listed at 800 kg. Keep relocation outside this recording exercise and require the proper move procedure separately. Product images below illustrate interior choices only; they are not identified RB105 recording tests or proof of the quoted furniture package.
Sketch interviewer A and guest B with their knees, elbows, notes, headphones and microphones. Allocate the recorder or interface its own supported position. Show where each person reaches for a question sheet or water, where cables pass and where someone can leave without moving a microphone across the other person's face. Use the intended seats and equipment in a permitted full-size mock-up; an empty floor plan misses the objects competing for the same tabletop.
Compare opposing seats with an angled arrangement only where the supplier permits both. Opposing seats may make eye contact straightforward, while an angled arrangement changes where each microphone points relative to the other voice. Neither wins from geometry alone. Rehearse settling into the seat, reading, looking at the guest and exchanging a document. Note any position that forces a person to lean, keeps their knees against equipment or turns every glance into a large movement away from the microphone. Treat the tabletop as shared working space. Put the interviewer's notes where they can be read without displacing the guest's microphone, and leave the guest somewhere to rest their hands. If both microphone supports need the same table edge, ask the supplier which compatible mounting arrangement the quoted furniture can actually support.
Bring the two-seat equipment sketch when discussing SOP recording booth configurations, and ask which exact configuration can accommodate that arrangement before requesting a recording demonstration.
Ask A to read a question from the normal note position and then look at B while finishing it. Ask B to begin facing A, glance at a harmless prompt and return. Do not coach either person to stare at a microphone throughout. The interview requires a person to address another person, so the audition should expose the movement that makes that possible.
Describe the movement separately from its recorded effect. Did the chair rotate, did the torso turn, or did only the head move? Did the mouth move farther from the microphone or change direction relative to it? Note the word where the movement occurred. A comfortable layout that changes vocal character during every answer remains an unresolved recording question, even when both people can hear each other clearly inside.
Read the instructions for each actual microphone. Identify its pickup direction and selected polar pattern; a side-address microphone is not necessarily aimed where its body appears to point. Directional patterns respond differently around the microphone, and different patterns have different least-sensitive directions. Changing speaking distance also changes the balance of direct and surrounding sound. These principles explain why placement matters; they do not predict this booth's result.
On the sketch, draw the intended voice direction into each microphone and the other person's direction relative to it. Avoid assuming that two directional microphones automatically provide isolated speech. The other voice can still appear on either recording, and a speaker turning toward their partner may also turn away from their own microphone.
Have the equipment owner make supported position or pattern adjustments. Keep them separate from furniture changes where practical. Record the selected pattern and speaking geometry for each attempt; do not adopt a universal mouth distance or buy another microphone merely because one diagram looks promising.
Assign microphone A to one recording track and microphone B to another through a supported capture arrangement. Confirm input assignments in the application or recorder. Two microphones feeding a single mixed file do not provide the same review options. Ask the operator to make a brief capture, reopen it and demonstrate that either recorded input can be auditioned separately without replaying a live feed.
RB105's public description identifies two 120 mm ventilators but does not establish a supplied audio interface, two preamps or isolated microphone channels. Keep that equipment on the buyer's signal-chain list. Ask for the approved cable interface location and usable opening on the quoted configuration before choosing a connection route. Never use a gap in the door, and leave ventilation in its approved occupied condition throughout. Do not interpret a listed acoustic number as a guarantee that one voice will disappear from the other person's microphone.
Record microphone identities, input channels, gain and capture processing. Retain the earliest available files; if noise reduction is applied during capture, state it. Both people should speak at their ordinary levels while the operator checks for overload and missing inputs. Include a quiet question, an animated answer and a pause. A louder demonstration alone can hide the editing problem the interview actually presents.
Use nonconfidential material with both participants' permission. Begin with A asking a complete question while B listens, then B answering while A listens. Include a pause with neither speaking. Continue into an ordinary follow-up: A briefly acknowledges B, then asks for clarification. Allow a short natural overlap without making either participant compete for volume.
Include the note-to-partner turn already rehearsed. Ask the guest to explain a harmless subject with the emphasis they would normally use, not an unnaturally even script delivery. Keep the quiet voice, the stronger phrase and any awkward moment. These segments give the later reviewer something more revealing than a single carefully chosen sentence. Let each person occupy the other proposed seat for a brief role swap, if that arrangement is intended for use. Repeat the same question and answer with the microphone assignments relabeled. This checks whether the layout depends on one particular person always sitting in one place. Judge comfort and intelligibility for each person, rather than expecting their voices to sound alike.
Mark the segment boundaries in a listening note without interrupting the exchange. Repeat an uncertain moment before changing the setup. The table is an audition sequence to complete, not a record of successful results. Keep both tracks running through each segment so the other microphone's contribution remains available.
| Segment | Speaking action | Keep for review |
|---|---|---|
| Question | A speaks; B listens | A voice and spill onto B |
| Answer | B speaks; A listens | B voice and spill onto A |
| Turn | Notes, partner, notes | Movement-linked words on both tracks |
| Brief overlap | Brief ordinary overlap | Answer plus interjection in sync |
| Pause | Neither person speaks | Unedited background on each track |
First audition track A alone and then track B alone through the same playback route at a comfortable, documented level. Preserve the captured balance; if the reviewer changes playback level, note it. For each turn, identify the intended voice, the other voice and any change when the speaker looks away. Speech on the other microphone is spill, not proof that the track assignment failed. Listen rather than infer its importance from a waveform's size.
Then play both synchronized tracks together using the proposed starting balance. Ask whether the combined voice remains natural, whether the acknowledgment obscures an answer and whether pauses expose a distracting change. A solo track can sound usable while the combination sounds different because both microphones captured some of the same speech. Check a troublesome overlap by replaying the whole question and answer, not just the interruption. The editor may need to shorten A's acknowledgment while preserving B's sentence. Try that on a copy and listen for what remains on B's track. This exposes an editing constraint that a combined promotional excerpt would conceal. An editor may audition ordinary adjustments on copies, but preserve the untouched pair and disclose the work required.
Take away the permitted separate captures, a synchronized listening copy if available, the configuration sketch and segment notes. Label the layout, track identities, capture processing and any audition adjustments consistently. Link each concern to a file and a specific moment: B's answer changes when looking at A is more useful than booth sounds wrong. Do not discard the segment that challenges the preferred layout.
Have the intended editor review the packet before the purchase decision. Agree whether the layout deserves a further demonstration, requires a supported equipment change or cannot yet support the intended interview. Give the supplier a precise follow-up: quote the demonstrated seating arrangement with its table and supported microphone positions, or identify the proposed alternative to audition. Mark buyer-supplied microphones and capture equipment separately from included fittings. If the suggested change moves a seat, ask to hear the turning passage again before accepting the revised layout. Where files cannot be supplied, state that independent raw-track review remains unavailable. A showroom listening impression cannot silently replace that requirement.
Which published model is a useful starting point for two people?
RB105 is the larger recording reference, with stated two-to-four-person capacity and a 1900 by 1400 mm internal plan. Confirm the supplied seats, table and equipment arrangement for the interview. Capacity is a starting label, not a promise that two microphone supports and every seated action fit.
Does the booth include two microphones and a recorder?
The inspected RB105 specifications do not establish that package. List the microphones, mounts, headphones, recorder or interface and required input channels separately. The chosen capture equipment must demonstrably save separate tracks if independent editing is part of the brief.
Can two microphones stop the speakers bleeding into each other?
Not automatically. Each may capture part of the other person's voice. Listen to the question, answer and overlap on solo tracks and in sync. A usable edit is a demonstrated result with stated settings, not something established by microphone count or the enclosure's soundproof label.
Should the ventilation be switched off for the recording?
Use the approved occupied ventilation condition. Do not make a purchase demonstration depend on disabling air movement. If fan noise affects a quiet passage, review microphone direction, device placement and a supported product solution while keeping the required air service operating.
Can I judge the purchase from a finished interview clip?
A finished clip can show the intended style, but it can conceal capture processing and editing work. Request the earliest separate files and setup notes. If they cannot be shared, state that raw-track review is unavailable rather than calling the finished clip an independent recording test.
Finish with an audition packet, not an occupancy assumption or a polished clip. It should identify the configuration confirmed for the intended people, their working positions, both capture paths and the moments another listener should review. If a seat turn or overlapping acknowledgment remains unresolved, return that exact moment to the supplier and equipment owner. Choose the proposed arrangement only within what its occupied layout and retained recordings demonstrate; leave unsupported capacity, acoustic performance and unavailable raw files outside the approval.

 Tel: +8613538031763
 Email: info@sopworkpod.com
 MP/WhatsApp: +8613538031763
 Manufacturer Address:Liucheng Lujiang District,Meixi Road,Nanan City,Fujian,China