Need Help?
Please leave your contact information to get our latest catalog
Get In Touch Now >


Author:SOP Work Pods Manufacturer TIME:2026-09-10
An office pod layout should begin with the work that must happen around it, not with an attractive floor-plan symbol. For a project in Portugal, the buyer still needs to verify the actual room, circulation route, building services, property rules, accessibility duties, electrical work, delivery conditions, and approvals with the responsible local parties. The country name identifies the project context; it does not prove that one standard arrangement will fit every Portuguese workplace.
This planning reference explains how to turn a workplace brief into a controlled pod location. It does not describe a named customer installation, promise a delivery result, or replace a measured survey. The useful output is a layout release record: a drawing and decision table that connect user tasks, clearances, door movement, light, power, data, ventilation, service access, delivery, and future change.
Start with a short activity diary. Record who needs the pod, why they leave an open desk, how long the task normally lasts, what equipment travels with them, and what happens immediately before and after the session. Focus work may benefit from separation from collaboration zones, while quick video calls may need a location close to the teams that use it. A layout becomes defensible when each adjacency has a work reason rather than a decorative reason.
Describe demand by time as well as headcount. Ten people who need one private session each week create a different pressure from three people who make confidential calls throughout every day. Note peak periods, booking behavior, handover time, cleaning needs, and whether users carry laptops, samples, documents, or mobility equipment. These observations help determine whether one pod can serve the demand and where queues might obstruct circulation.
Define what the pod should not interrupt. Keep emergency routes, reception sightlines, shared printers, storage access, opening windows, heating controls, and team collaboration space visible on the brief. The aim is not merely to find an empty rectangle. It is to introduce an enclosed room without shifting noise, congestion, glare, or maintenance difficulty into another part of the workplace.
A product footprint is only the first layer. Add the door swing or door travel, approach space, user turning area, cleaning reach, ventilation openings, electrical entry, removable panels, and any clearance required for inspection or service. Confirm each dimension against the offered model and current drawing. Do not copy a clearance from another pod simply because the products look similar.
Measure the proposed room at several points. Columns, skirting, raised-floor transitions, ceiling features, sprinklers, lights, sensors, radiators, cable routes, and uneven walls can reduce usable space. Record the lowest ceiling condition and the narrowest route condition rather than an average. Photograph and label constraints so that procurement, facilities, the supplier, and the installer are discussing the same physical facts.
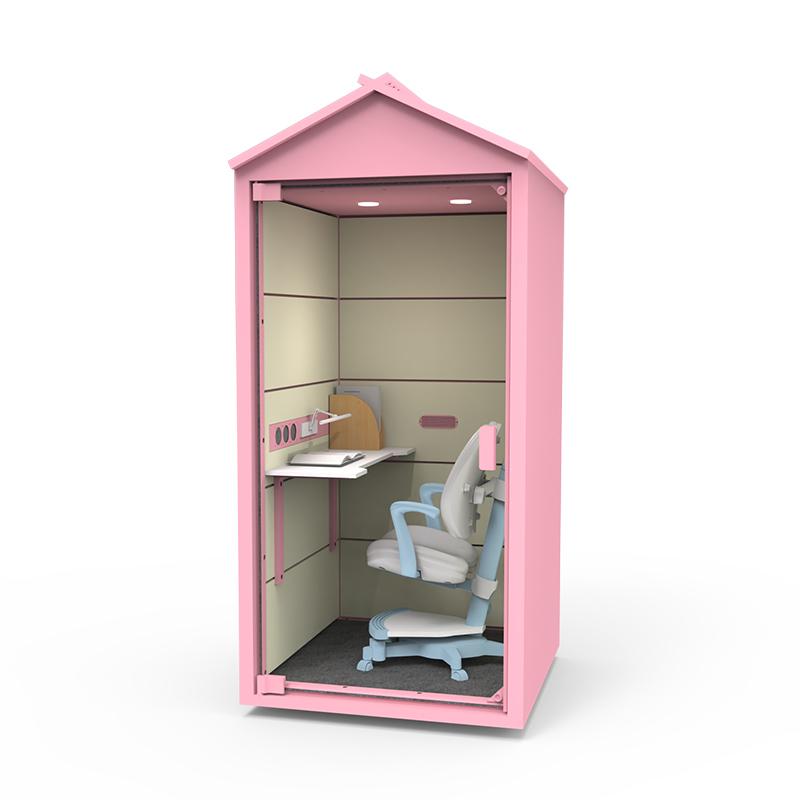
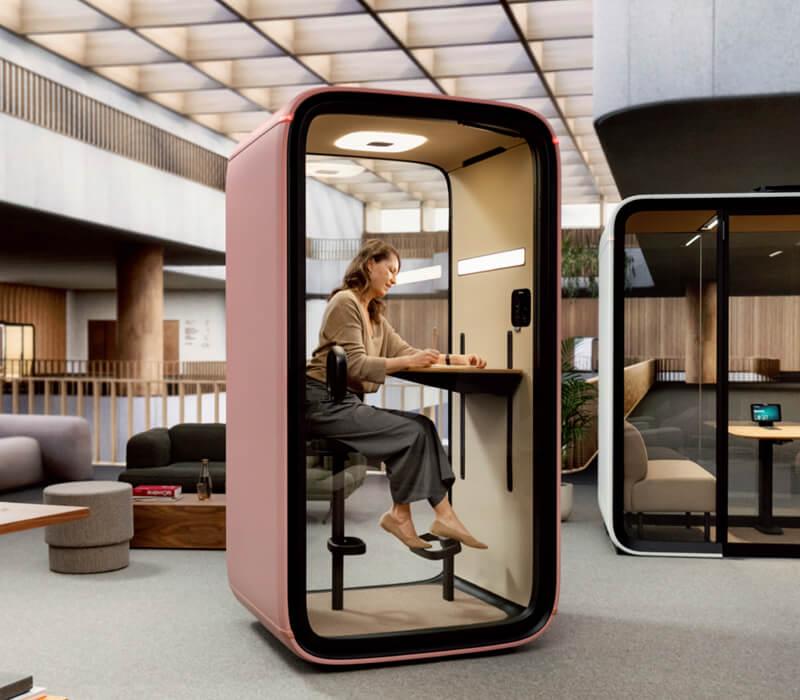
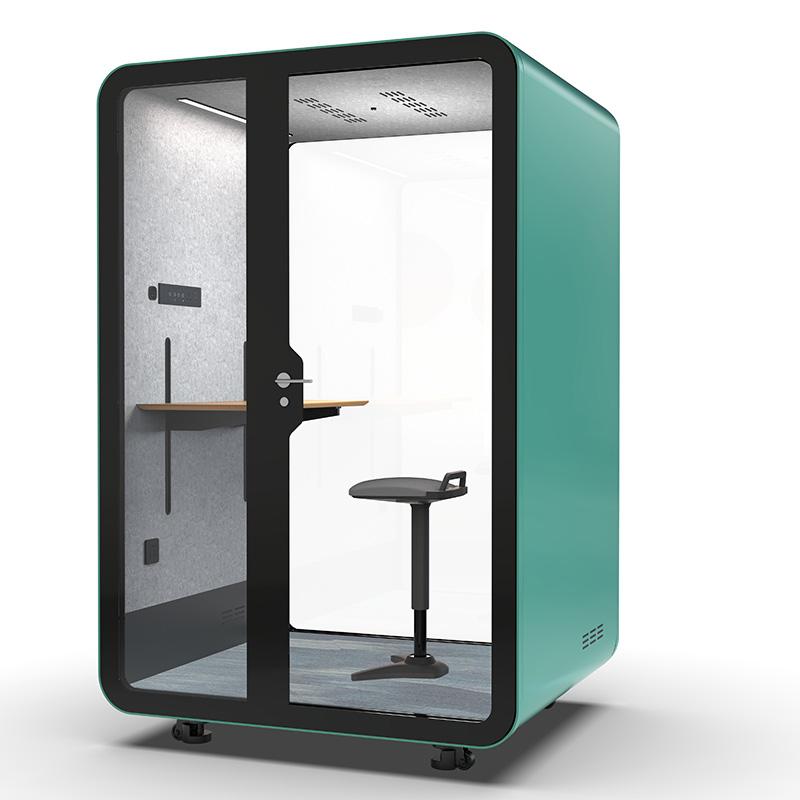
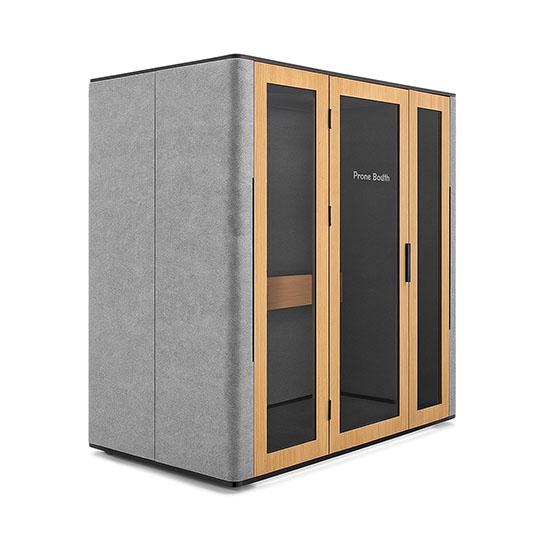
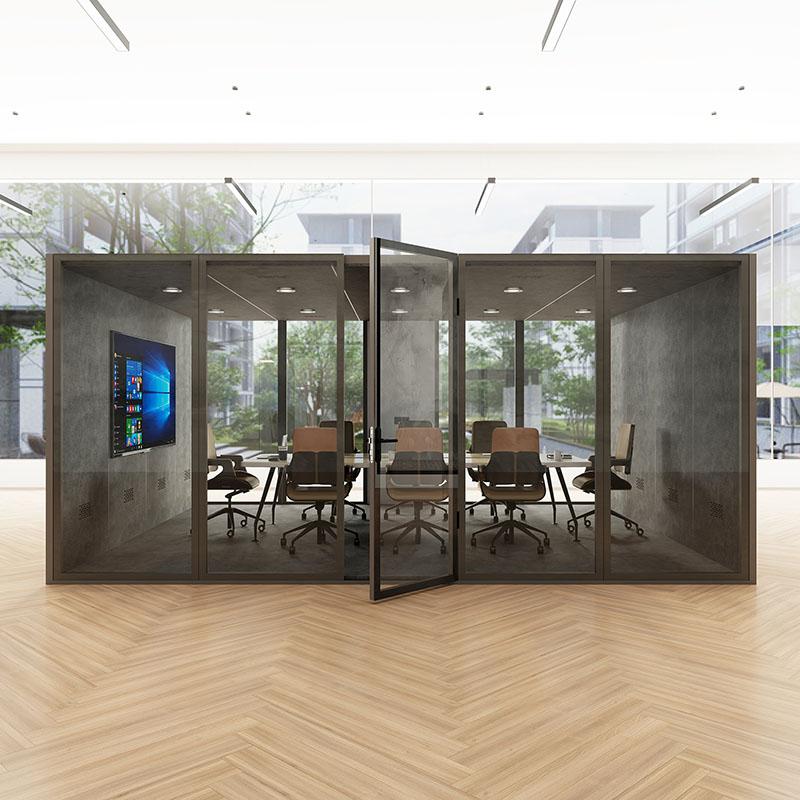
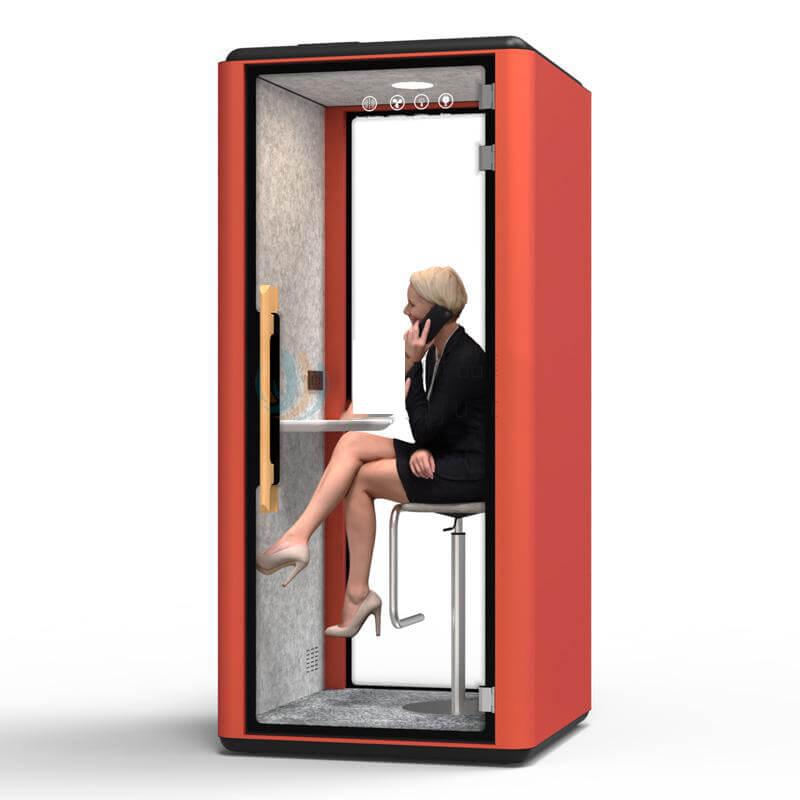
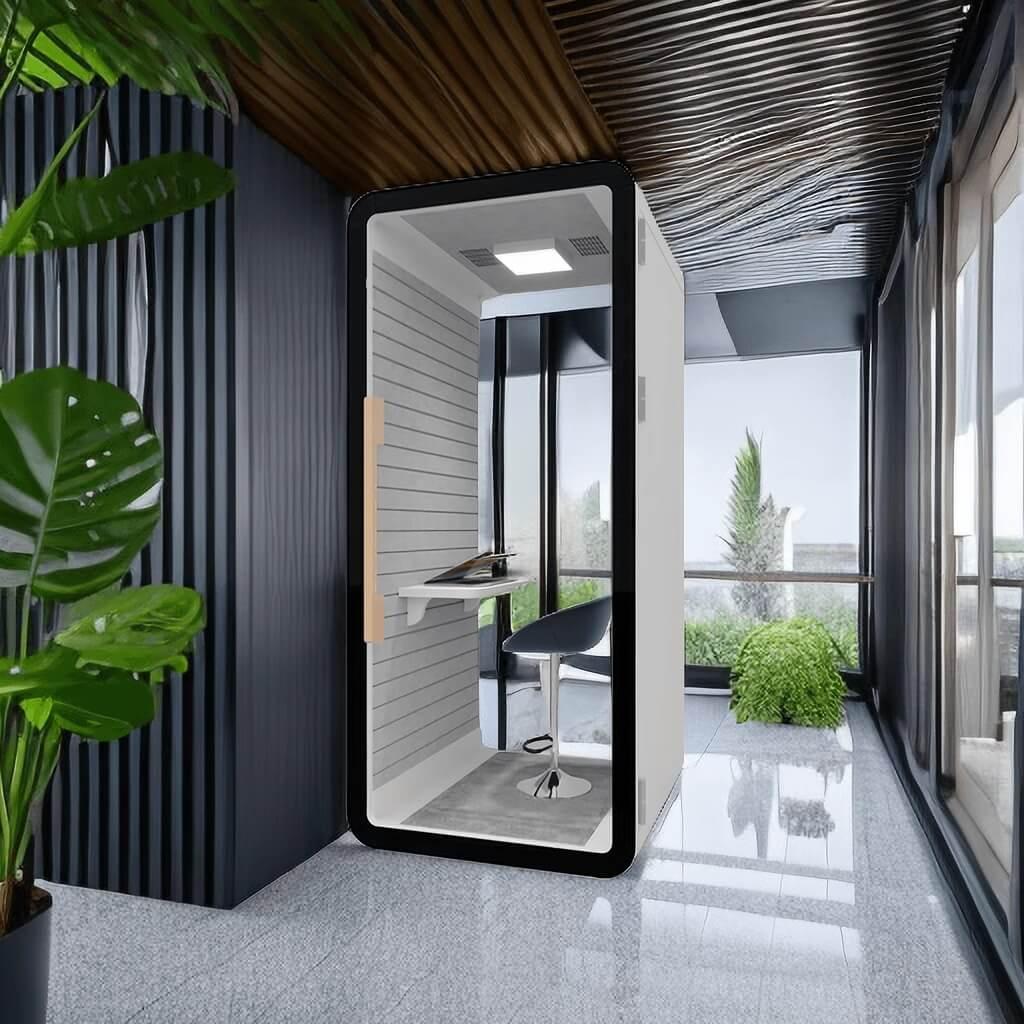
The office pod range is useful for identifying the relevant product family, but the released layout must reference the exact selected configuration. Keep the drawing revision, external dimensions, door arrangement, furniture, service points, and finish together. If the product changes, reopen the fit review instead of assuming that the previous outline remains valid.
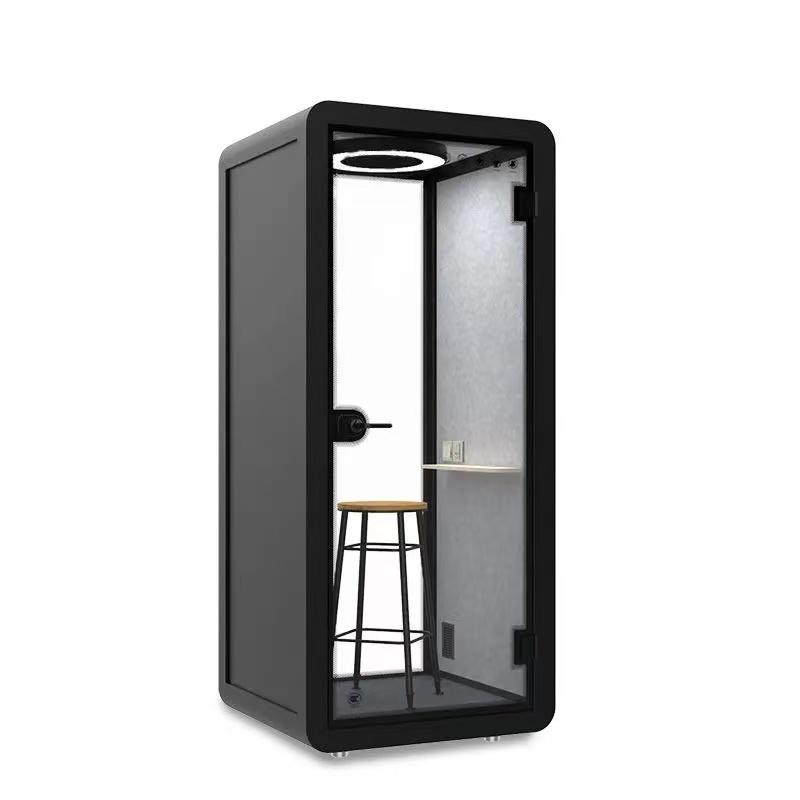
Trace the user journey from desk to pod, through the door, into the seat, and back into the workplace. A door that opens toward a busy aisle can create hesitation and conflict even when the footprint fits. Check whether a person waiting outside blocks another route, whether an open door collides with furniture, and whether the user can see the handle and booking state on approach.
Test several ordinary scenarios on the drawing: one user carrying a laptop, a visitor who does not know the office, a cleaner with equipment, and a technician reaching a service point. Where accessibility obligations apply, the responsible project team must verify them for the actual site and configuration. A generic article cannot determine local compliance, but it can ensure that access is treated as a release question rather than an afterthought.
Door orientation also changes what users see when they enter and what nearby colleagues see when the door opens. Review screen exposure, confidential documents, direct eye contact, and visual distraction. If privacy depends entirely on users remembering to angle a screen or close a blind, record that operating dependency instead of presenting the layout as automatically private.
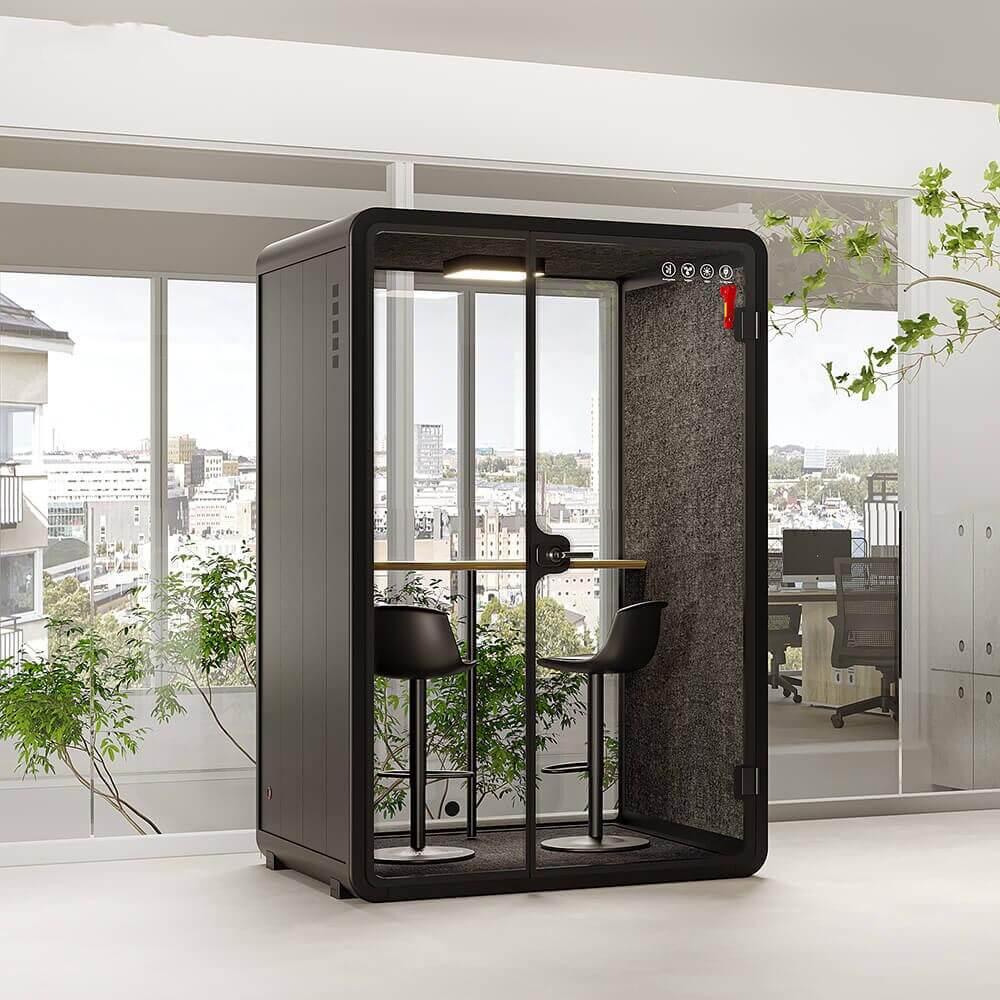
Map daylight direction, nearby luminaires, glazed partitions, reflective finishes, and the likely screen position. A pod placed beside a bright window may look inviting but create glare during video calls or afternoon focus work. Observe the room at the times when use is expected. If the project cannot inspect every condition before purchase, note the assumption and retain an adjustment option in the lighting or screen arrangement.
Consider both inside and outside views. Users may prefer some visual connection with the office, yet a direct view into a busy collaboration zone can undermine concentration. Colleagues outside may need to see whether the pod is occupied without reading a screen or document. Use sightline sketches from seated and standing positions, and verify them with the actual glazing and furniture rather than relying on a wide-angle marketing image.
Lighting should support faces, documents, and controls without becoming a claim about a fixed performance level. Ask how internal lights are controlled, where shadows fall, and whether users can adjust screen brightness. Record who will confirm the final condition after installation. This turns a subjective discussion about a “bright pod” into observable checks tied to ordinary work.
Draw the connection path, not only the outlet symbol. Identify the building supply point, cable route, protection, final connection responsibility, internal outlets, data method, and test ownership. Confirm local electrical work and approvals with qualified responsible parties in Portugal. The supplier should state what belongs to the pod; the project team should state what belongs to the building.
Ventilation needs the same boundary. Ask where air enters and leaves, how controls operate, what clearance the offered configuration needs, and how filters or service components are reached. Avoid inventing airflow, temperature, or sound values. Instead, define an occupancy scenario and an acceptance observation for the longest normal session, then agree who records the result and who investigates if users report discomfort.
Keep service access available after surrounding furniture is installed. A connection panel hidden behind storage or a maintenance point facing a permanent wall can create recurring labor and downtime. Mark access zones on the furniture plan, and protect them during later design changes. A clean initial rendering is not useful if the installed workplace prevents safe inspection.
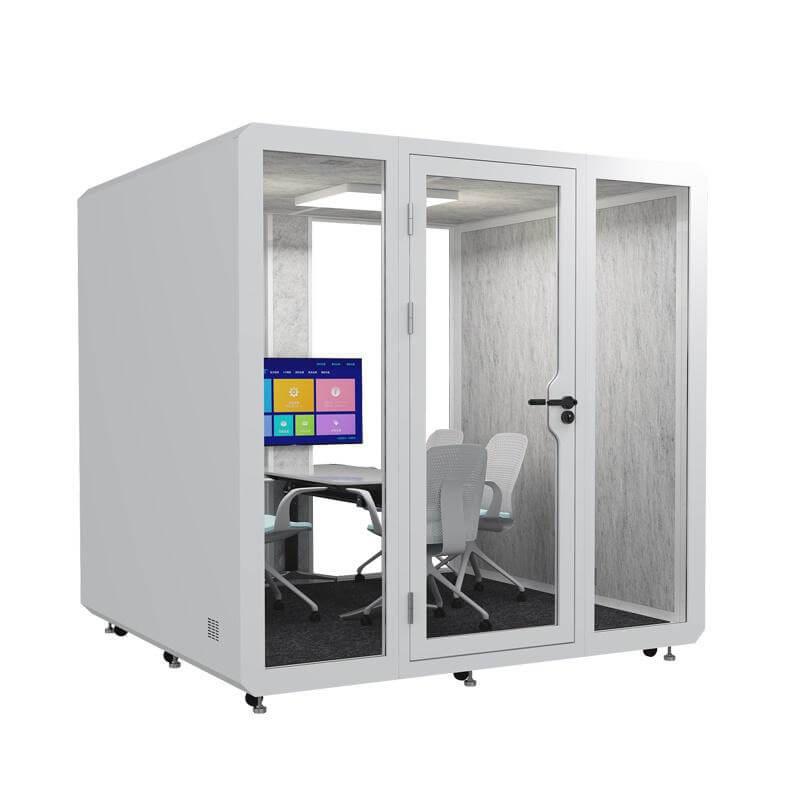
Some locations are efficient today but costly to change. Compare the likelihood of team growth, lease changes, furniture reconfiguration, technology upgrades, and future pod relocation. A position that depends on a custom floor opening or blocks the only flexible planning bay may have a higher lifecycle cost than a slightly less central position with clearer services and movement routes.
Separate reversible decisions from fixed interfaces. Furniture orientation, booking signs, and some cable management may be adjustable. Building circuits, floor penetrations, ceiling coordination, and constrained delivery paths may require more formal change. This distinction helps the buyer decide which uncertainties must be resolved before order and which can be managed during commissioning.
Review the surrounding zone after the pod is drawn. Check desk spacing, acoustic conditions outside the enclosure, cleaning routes, team visibility, and the effect on shared facilities. A layout should improve the workplace system, not simply optimize the pod. Record any displaced function and its new location so that approval does not hide a problem elsewhere on the floor.
A release ledger keeps geometry and responsibility in one place. Complete it with the supplier drawing and the measured site plan side by side. Do not mark an item “confirmed” because it appears reasonable; name the evidence, owner, and revision. Open items should carry a decision date and a consequence if they remain unresolved.
| Release item | Evidence to retain | Decision owner | Hold point |
|---|---|---|---|
| Footprint and clearances | Measured plan, model drawing, service envelope | Facilities and supplier | Before configuration approval |
| Door and circulation | User-route sketch and obstruction check | Workplace designer | Before floor plan release |
| Power and data | Interface schedule and qualified connection plan | Project electrical and IT leads | Before site work |
| Light and comfort | Use scenario and commissioning observations | Facilities and user representative | Before acceptance |
| Delivery and service | Route survey, package data, access zones | Logistics and installer | Before dispatch |
Use the same ledger during quotation review, installation planning, and handover. When a revision changes one interface, highlight the affected rows rather than silently replacing the drawing. This provides a clear audit trail and reduces the chance that a late aesthetic choice invalidates an earlier access or service decision.
Walk the full delivery route from the agreed unloading point to the final position. Confirm vehicle restrictions, booking procedures, package handling, doors, turns, lifts, stairs, floor protection, temporary storage, assembly space, working hours, waste removal, and building contact details. The responsible parties must verify Portuguese site and property requirements for the real address.
At the proposed location, mark the pod envelope and door movement using removable tape where permitted. Place chairs or boxes to represent nearby furniture, then walk the common routes. This simple exercise often reveals queueing, screen exposure, blocked storage, or an uncomfortable approach that is easy to miss on a reduced drawing.
Release the order only when the model, options, plan revision, interfaces, delivery route, installation duties, and acceptance method agree. Keep remaining assumptions visible in the contract or project record. A controlled uncertainty can be managed; an invisible assumption usually returns as a delay, variation, or poor user experience.
How much clearance should an office pod have?
Use the exact model drawing and supplier instructions. Include door movement, user approach, ventilation openings, electrical entry, cleaning reach, and service access rather than applying one generic clearance to every product.
Can an office pod be placed beside a window?
It may be possible, but the project should observe glare, heat, views, window operation, cleaning, service routes, and screen privacy at the expected times of use before releasing the position.
Who confirms electrical requirements in Portugal?
The supplier should define the pod interface, while the project appoints qualified local parties to verify the building supply, protection, connection, inspection, and applicable site requirements.
Should the delivery route be checked before ordering?
Yes. Package dimensions, weight, doors, turns, lifts, stairs, storage, floor protection, assembly space, and working-hour restrictions can affect whether the selected configuration reaches the final room.
What should be included in a layout release record?
Keep the measured plan, model revision, clearances, door route, furniture, services, delivery route, responsibility schedule, open assumptions, approval owners, and acceptance method together.
An office pod layout is ready when it connects a real work pattern with a measured place, clear interfaces, and named responsibilities. The product outline alone cannot show user queues, door conflict, glare, blocked service access, delivery difficulty, or the cost of later change.
For a project in Portugal, prepare an activity brief, measure the final room and route, test door and sightline scenarios, map building interfaces, and issue a layout release ledger before order approval. Local professionals and responsible site parties should confirm the requirements that depend on the actual building. That process gives the buyer a layout that can be installed, operated, maintained, and revised with fewer hidden assumptions.

 Tel: +8613538031763
 Email: info@sopworkpod.com
 MP/WhatsApp: +8613538031763
 Manufacturer Address:Liucheng Lujiang District,Meixi Road,Nanan City,Fujian,China