Author:SOP Work Pods Manufacturer TIME:2026-09-14
A small garden office pod can fit a narrow site only when the project is planned as a chain of spaces. The pod footprint is one part. Delivery clearance, boundary access, door approach, drainage, maintenance reach, service routes, daylight, and the working interior all compete for the same limited width.
The useful question is not simply whether a rectangle fits on a plan. It is whether the site can receive, support, operate, and maintain the chosen pod without creating an avoidable conflict. This guide uses a width budget and site sequence so buyers can reject weak layouts before committing to a configuration.
Measure the narrowest usable width at several points, not only the nominal plot width. Boundaries may lean, planting may reduce clearance, and walls or fences may have projections. Mark fixed obstacles, changes in level, drains, inspection covers, trees, gates, eaves, and neighbouring structures. A dimensioned sketch should state where every measurement was taken and whether it is verified or estimated.
Divide the width into functional strips: pod body, construction tolerance, rainwater handling, maintenance reach, door or window movement, walking approach, and any boundary clearance required by responsible project review. Do not spend the entire width on the external shell. A pod that physically fits but cannot be accessed for cleaning, repair, or drainage inspection is not a resolved layout.
Test more than one orientation. Rotating the entry, shifting glazing, or moving the work surface can change approach and internal use without changing the pod area. Keep a rejected-options note. It helps the supplier understand which constraints are real and stops later design changes from reintroducing a known conflict.
Walk the route from the public access point to the proposed base. Record gate width and height, turns, side passages, steps, overhead cables, branches, roof projections, surface strength, and space for people or lifting equipment. The installed pod dimensions do not reveal the size or orientation of delivery modules, packaging, tools, and temporary working zones.
Ask the supplier for the actual delivery and assembly method for the offered configuration. A completed unit, large wall panels, and a flat-pack system create different route demands. Identify which components can be separated, the largest package, expected handling method, and where packaging can be staged. Do not assume a narrow route can be solved on the day by dismantling a product not designed for it.
Agree who owns the route survey and what happens if site conditions differ. Photographs with dimensions and a simple route plan are more useful than a verbal statement that access is "tight but possible." If external lifting or temporary removals may be needed, keep them visible in the project scope and decision schedule.
A narrow site can concentrate water between boundaries and the pod. Observe slope, low points, roof runoff from nearby buildings, existing drains, soil condition, and evidence of standing water. The base and drainage approach should be developed by responsible project parties for the actual site; a product brochure cannot determine ground suitability.
Keep finished floor level, threshold, step or ramp strategy, external approach, and rainwater route in one section drawing. Solving each separately can create a high step, trapped channel, or inaccessible drain. Show how roof water leaves the pod area and where maintenance access remains after fences, planting, or storage return.
Protect inspection covers and service routes. A small footprint can still block an important utility or make future excavation impractical. If the preferred position depends on moving a drain or changing ground levels, treat that as a separate enabling project with its own approval, cost, and programme instead of hiding it inside the pod quotation.
On a narrow plot, glazing and doors face close boundaries. Map views toward neighbours, paths, windows, fences, and planting at seated and standing height. Daylight is useful, but large glazing directed at a busy route can reduce privacy and screen visibility. Choose opening positions after the desk and user orientation are known.
Check door swing and arrival space outside the pod. The route should not force a user to step into planting, drainage channels, or a boundary while opening the door. Inside, preserve space for the chair, storage, and safe movement. A sliding or differently handed entry may help, but only if the supplier's offered system and weather details support it.
Consider seasonal conditions without making blanket comfort claims. Low sun, shade, foliage changes, rain exposure, and nearby reflective surfaces alter the working environment. Request configuration-specific information for glazing, shading, ventilation, and heating or cooling provisions, then coordinate it with the actual orientation and expected hours of use.
| Width claim | What occupies it | Evidence to record | Decision if unresolved |
|---|---|---|---|
| Pod envelope | External shell and permitted construction tolerance | Supplier drawing and site set-out | Resize or change orientation |
| Weather and drainage | Rainwater path, base edge, inspection access | Section drawing and ground observation | Redesign base or move position |
| Use and entry | Door movement, approach, chair and storage sequence | Full-size layout and user walk-through | Change opening or interior layout |
| Maintenance | Cleaning, seals, service panels, external finishes | Supplier access requirements | Reserve access or reject position |
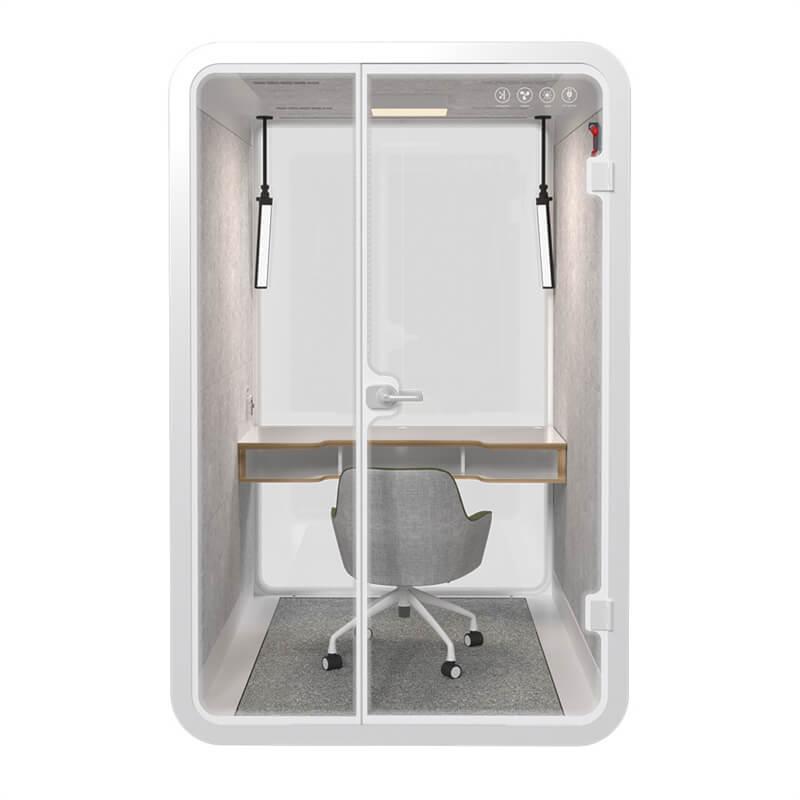
Draw the interior around the tasks, not around a generic desk symbol. Place the chair in working and pushed-back positions, then add monitor depth, laptop, keyboard, documents, lighting, storage, bag, coat, and any video-call equipment. Test entry, sitting, reaching, opening storage, and leaving while the equipment remains in normal use.
Separate occasional needs from daily needs. A printer used once a week may live elsewhere, while charging, documents, and headset storage need reachable positions. Vertical storage can save floor area but must not conflict with glazing, lighting, air movement, or head clearance. Keep cable routes and power locations visible so the final arrangement does not depend on loose extensions across movement space.
Use a full-size tape layout or simple mock-up when dimensions are tight. Representative users can expose chair clearance, monitor distance, and reach conflicts that a scaled plan hides. Record observations rather than turning one person's preference into an ergonomic guarantee. The goal is to select a workable arrangement and identify who may need an alternative workspace.

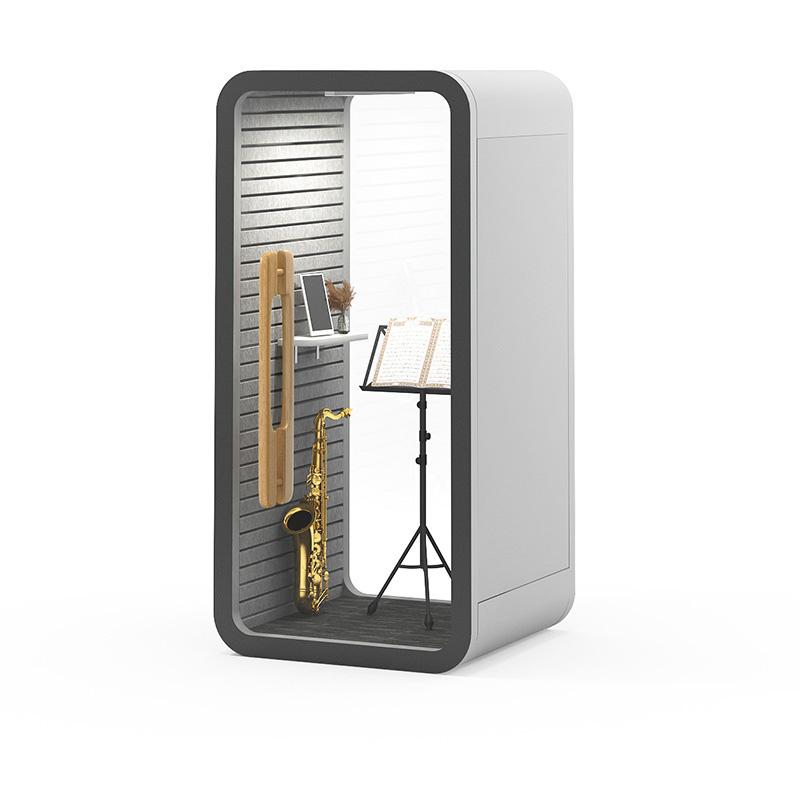
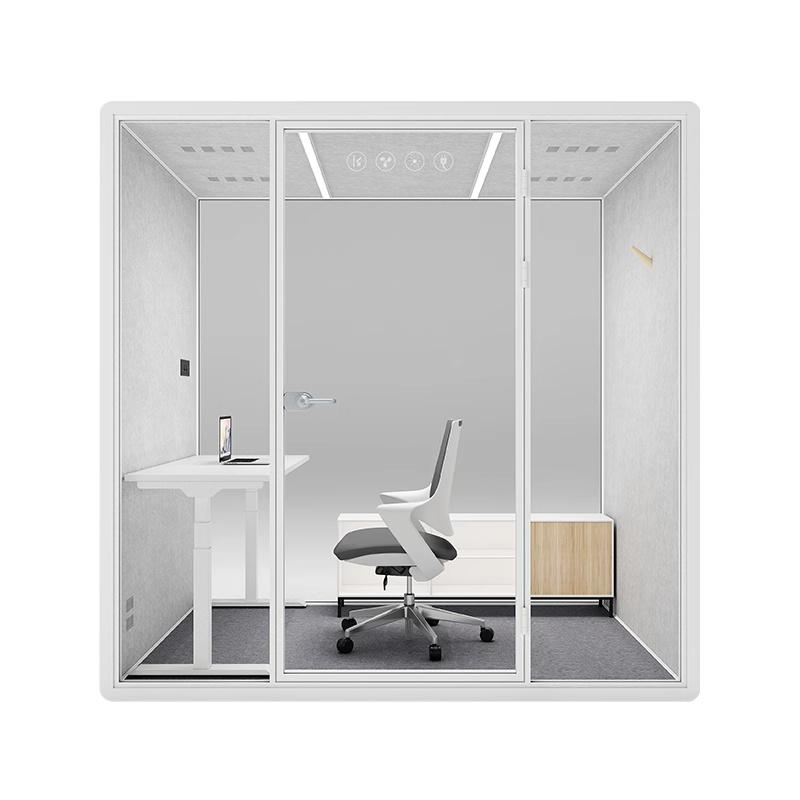
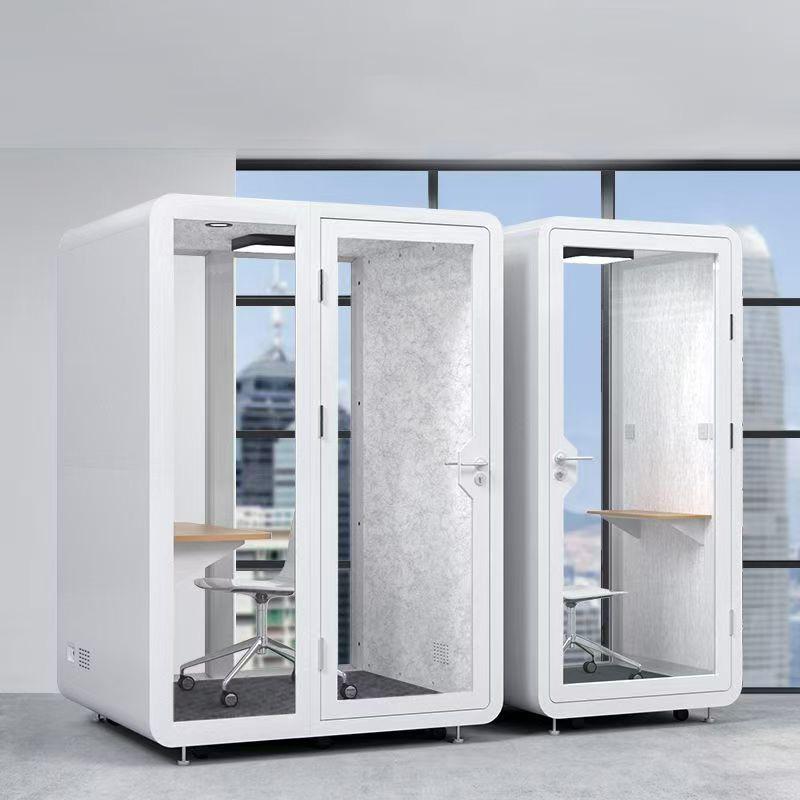
For configuration context, review garden pod configurations, then return to the site-specific evidence and responsibility checks in this guide.
Decide how power and data reach the pod before the base and finishes are fixed. Identify the source, route, protection, entry point, isolation, and responsible installer under the applicable project requirements. Keep external cable routes away from water traps and maintenance conflicts. Wireless service should be checked at the proposed location rather than assumed from performance inside the house.
Review the offered lighting, ventilation, and temperature-control arrangement against occupancy, equipment, orientation, and expected hours. Ask how users operate the controls, how filters or service points are accessed, and what clearances must remain around openings. A narrow side gap should not become the only service route if it cannot be reached safely.
Document energy and shutdown behaviour that matters to daily use. Facilities owners may need a frost, standby, security, or extended-absence routine depending on the supplied systems and local conditions. Use manufacturer guidance and responsible electrical or building advice; do not improvise technical settings in the content or handover note.
A tight plot makes external effects more visible. Review the proposed position, height, openings, lighting, equipment noise, rainwater route, and construction access in relation to boundaries and neighbouring use. The buyer should obtain the planning, landlord, community, or building guidance that applies to the site rather than relying on a general statement that a small pod needs no approval.
Keep boundary ownership and working access clear. Installation or maintenance may require temporary access that is not available by right. Resolve permissions before ordering a configuration that can only be assembled from the neighbouring side. The same applies to trimming planting, removing fence panels, or placing equipment outside the buyer's property.
Plan considerate construction logistics. Agree delivery timing, waste removal, temporary protection, worker access, and communication where close neighbours are affected. This is not a substitute for formal permission; it is a practical way to prevent a narrow access plan from causing avoidable disruption.
Draw future access for cleaning glazing, checking seals, clearing rainwater paths, servicing controls, and reaching external finishes. Ask the supplier which sides and components need access and how often inspections are expected under its guidance. A dimension that is technically outside the pod is not useful if a person, tool, or removable panel cannot reach it.
Consider how the garden will change. Plants grow, storage accumulates, fences are replaced, and paths settle. Mark a no-storage and no-planting zone where access or air movement must remain clear. Give the property owner a simple site plan so these requirements survive after the installer leaves.
Keep a route for future removal or major repair. The preferred installation may be possible only while another structure or fence is absent. Record that dependency and the cost implication. A small garden office pod should be a manageable asset, not a sealed object whose first service problem requires dismantling the surrounding garden.
What is the first measurement for a narrow garden site?
Measure the narrowest verified width along the whole proposed pod and access route, then subtract functional space for drainage, construction, use, and maintenance.
Can the pod be sized from the final footprint alone?
No. The largest delivery component, packaging, turns, assembly zone, door approach, and future service access may require more space than the installed shell.
Should glazing face the garden or the boundary?
Choose orientation from the actual desk position, privacy views, daylight, glare, weather exposure, and offered configuration rather than one general rule.
How should buyers handle planning or boundary questions?
Obtain site-specific guidance from the responsible authority, landlord, project professional, or property adviser. Do not rely on a generic size threshold.
What should remain clear after installation?
Preserve the agreed approach, rainwater path, ventilation openings, cleaning reach, service panels, and any no-storage or no-planting zones shown in the handover plan.
A narrow site is workable when every centimetre has a named purpose. The pod, route, base, water path, entry, workspace, services, boundary conditions, and maintenance access must fit as one coordinated plan.
Use a measured width budget and reject layouts that depend on unverified access or inaccessible maintenance. A smaller, better-oriented configuration often protects more usable workspace than a larger shell forced into the site.

 Tel: +8613538031763
 Email: info@sopworkpod.com
 MP/WhatsApp: +8613538031763
 Manufacturer Address:Liucheng Lujiang District,Meixi Road,Nanan City,Fujian,China