Author:SOP Work Pods Manufacturer TIME:2026-08-11
Table of Contents
A video call booth can be acoustically acceptable and still produce a poor meeting image. The user may appear pale at 9 a.m., heavily shadowed at noon, and surrounded by reflections late in the afternoon. In many shared workplaces, the cause is not a defective lamp. It is the interaction between the booth light, nearby windows, camera position, glass panels, screen brightness, and the way people sit for a real call.
This distinction matters because a lighting problem is often discovered after installation, when facilities staff have limited options. A brighter lamp may increase glare and heat. Moving the laptop may improve the face angle but reduce desk space. Closing a blind may solve backlighting for one booth while making the surrounding office darker. A useful diagnosis therefore begins with recorded call evidence, not a general claim that the booth is "well lit."
Start with a short audit of the actual meeting image. Use the laptop models, webcams, and collaboration platforms that employees normally use. Record screenshots at the beginning, middle, and end of a call. Note whether the face is evenly visible, whether the camera changes exposure when the user moves, and whether the background competes for attention. This captures the result that colleagues and customers see.
Separate the symptoms. A dark face with a bright window behind it is a backlighting problem. A shiny forehead and deep eye shadows usually indicate a small, hard overhead source. A green or blue cast may come from mixed color temperatures. Pulsing brightness can be caused by camera auto-exposure, LED driver behavior, or a monitor that is too bright relative to the room. Treating all of these as "not enough light" leads to the wrong correction.
A shared office rarely has one stable lighting condition. Daylight changes with weather and time. Ceiling lights may be controlled by occupancy sensors or dimmed for energy saving. Large monitors create their own light. Adjacent meeting rooms open and close their blinds. Even people walking past a glazed booth can briefly change what the camera sees.
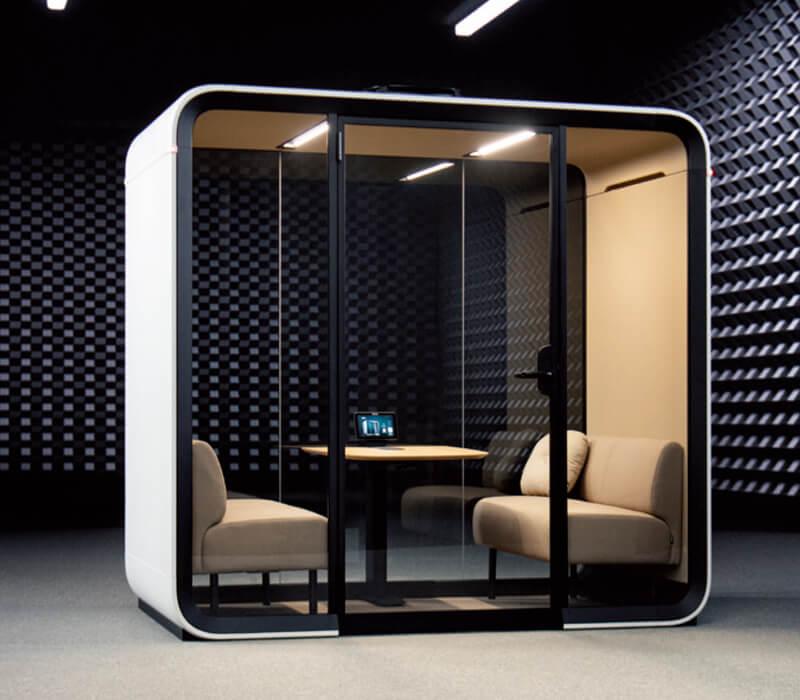
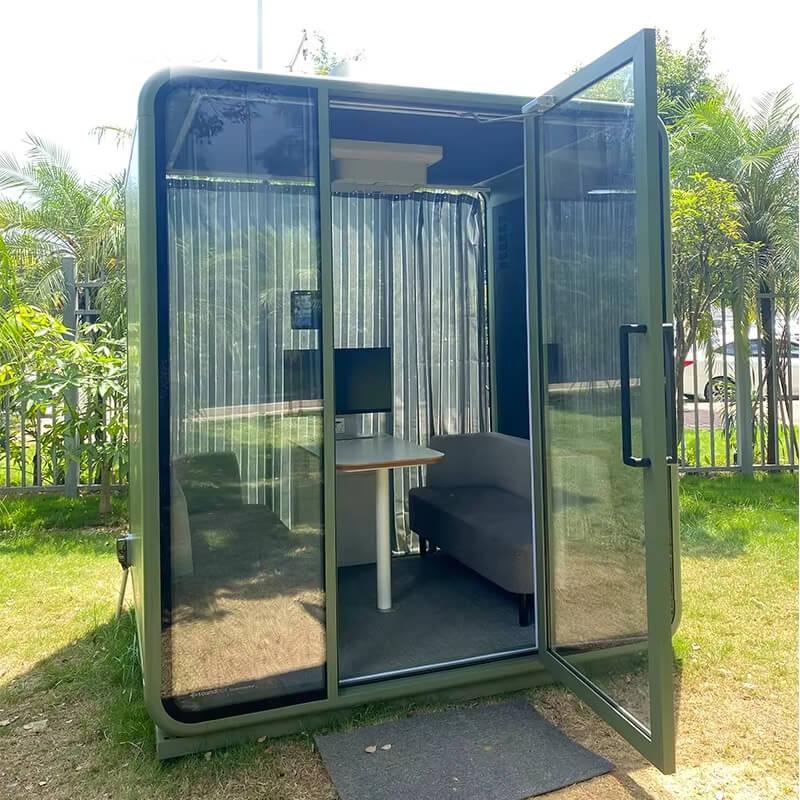
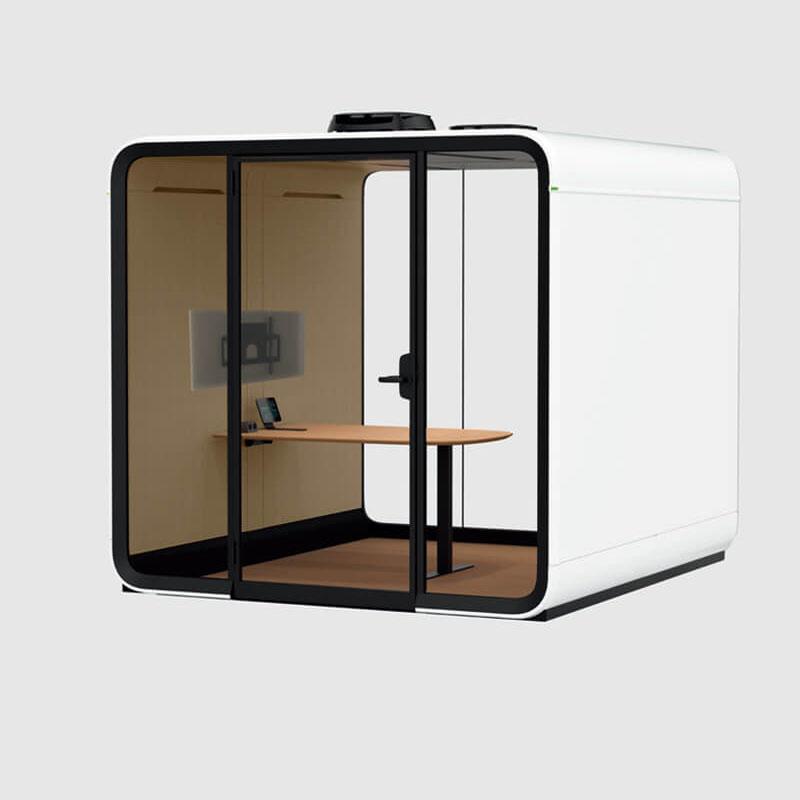
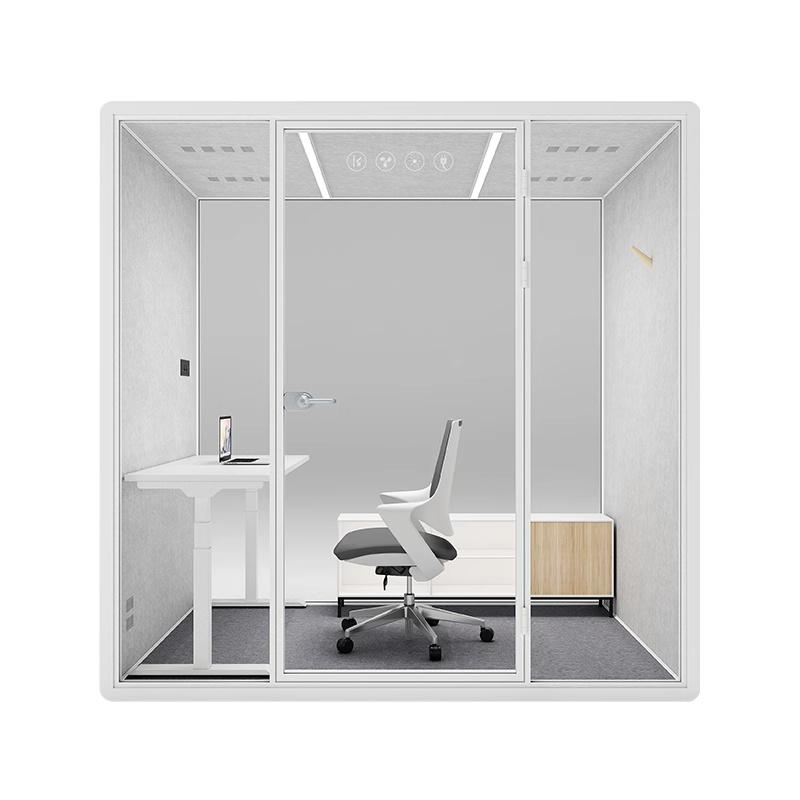
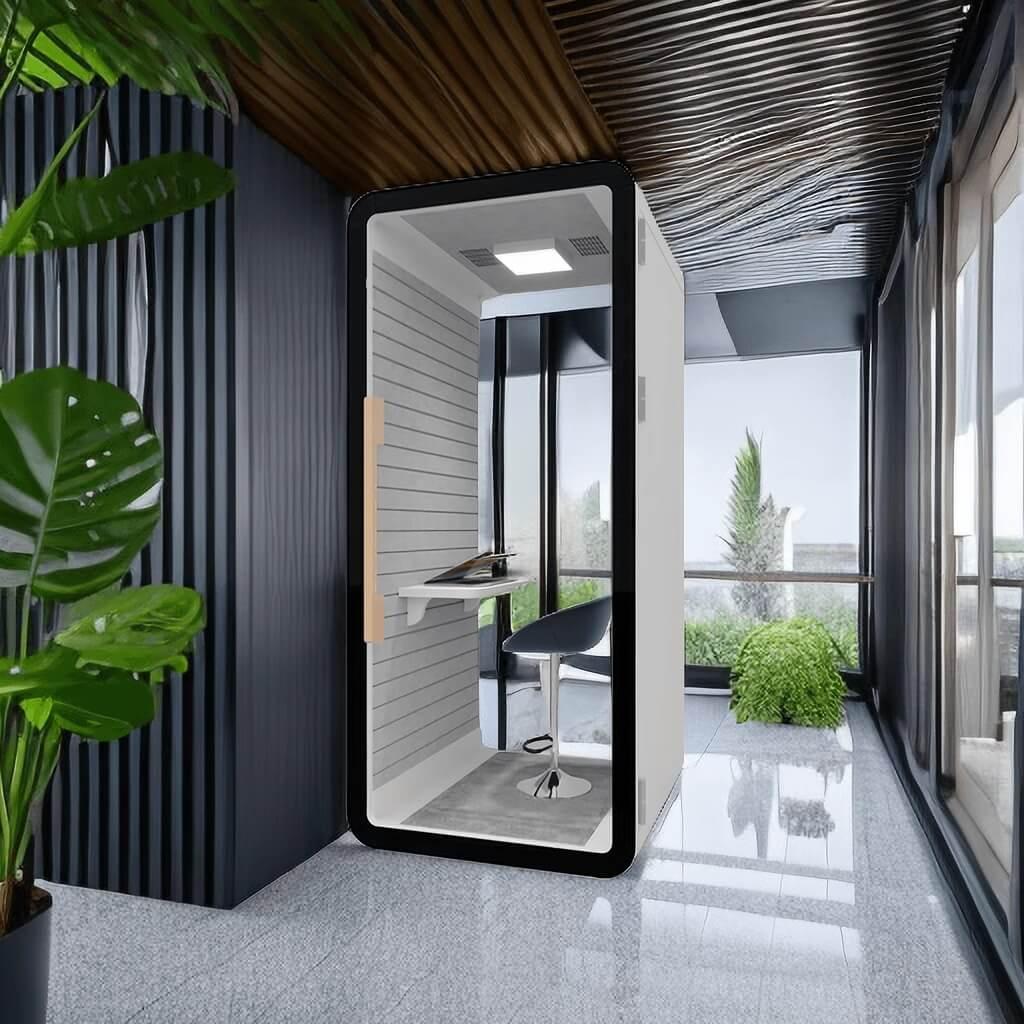
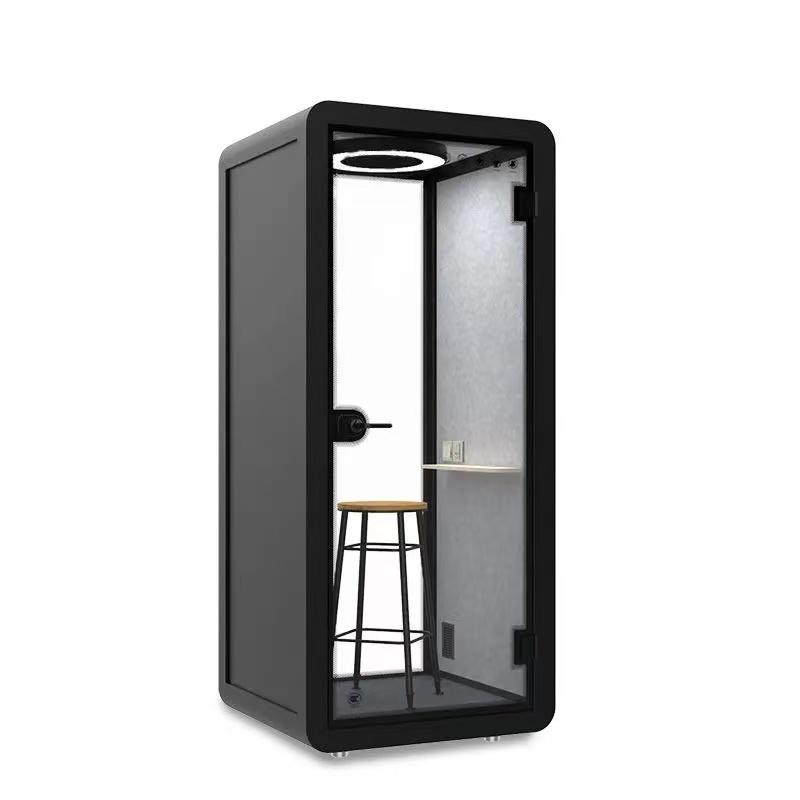
Placement is therefore part of lighting design. A booth facing a window may look attractive in a floor plan but place the brightest surface behind the user. A booth perpendicular to the window often gives the camera a more manageable side light. A booth directly under a ceiling fixture may receive a bright patch through its glass roof or door. Before choosing among office phone booth configurations, mark window direction, ceiling-light positions, expected laptop orientation, and the visible background on the plan.
The best position is not necessarily the darkest corner. Cameras need enough light to avoid noisy, soft images, while users need a space that does not feel closed or gloomy. The practical target is controlled contrast: the face, background, and screen should sit within a range the camera can handle without constant exposure shifts.
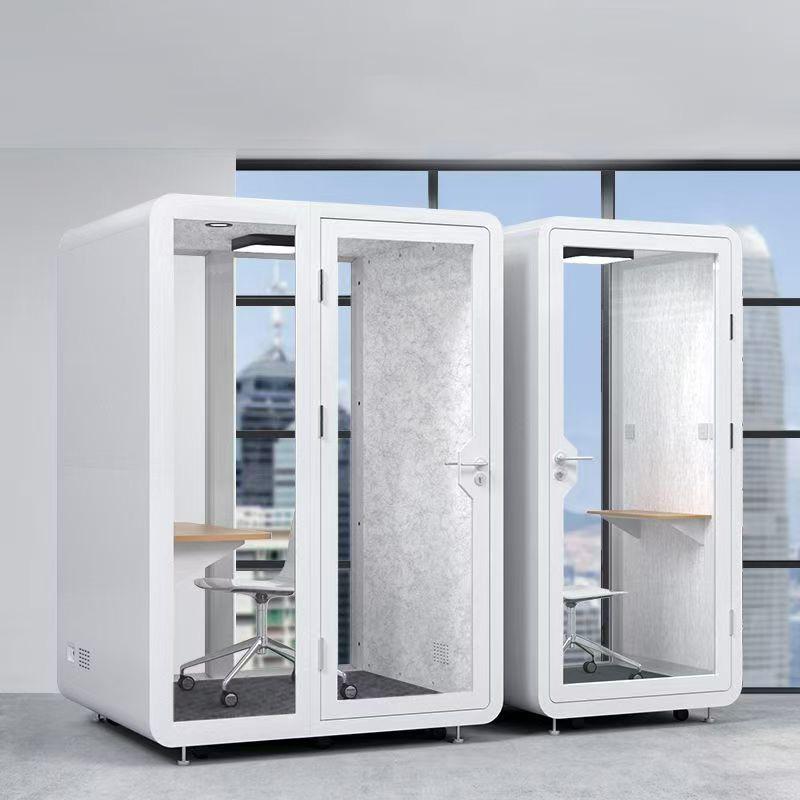
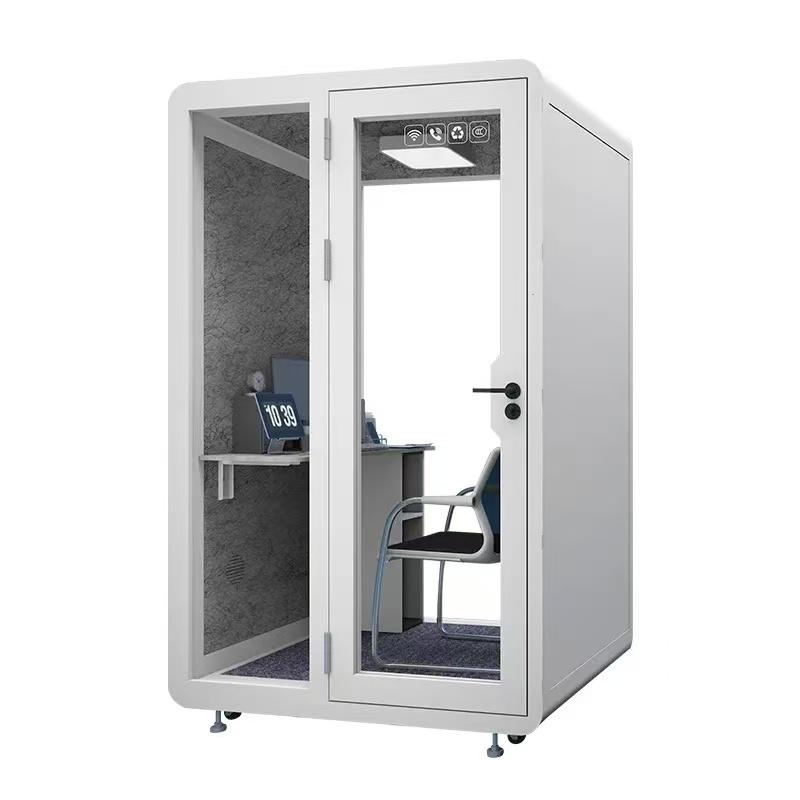
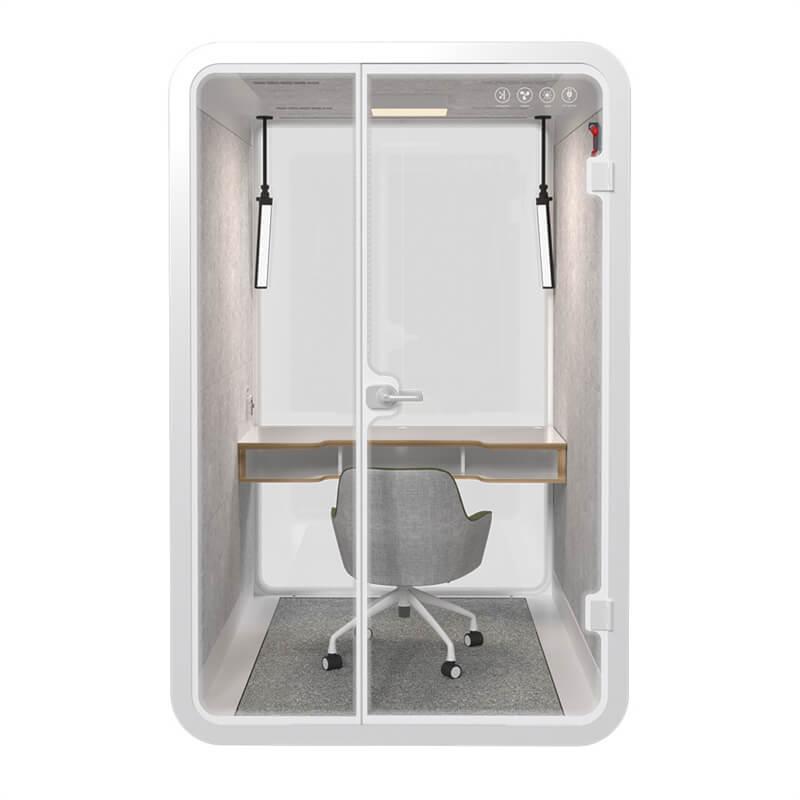
Many lighting complaints are partly camera-geometry complaints. When a laptop sits low on a shallow shelf, the camera points upward. The user's eyes turn down toward the screen, the chin becomes more prominent, and overhead light creates shadows around the eyes. Increasing lamp power does not correct the viewing angle.
Check whether the desk is deep enough for a laptop stand or a separate keyboard. Confirm that the camera can sit near eye level without blocking the screen. If employees use external webcams, identify where the cable and mount will go. For a fixed screen, test the height with shorter and taller users rather than selecting one position from a drawing.
Seat position also changes exposure. A user who sits too close to the glass may receive a strong side reflection. A user who slides backward may move outside the useful beam of the booth light. Mark a comfortable seating zone instead of expecting everyone to hold one exact posture. A slightly wider, softer source usually tolerates natural movement better than a narrow spotlight.
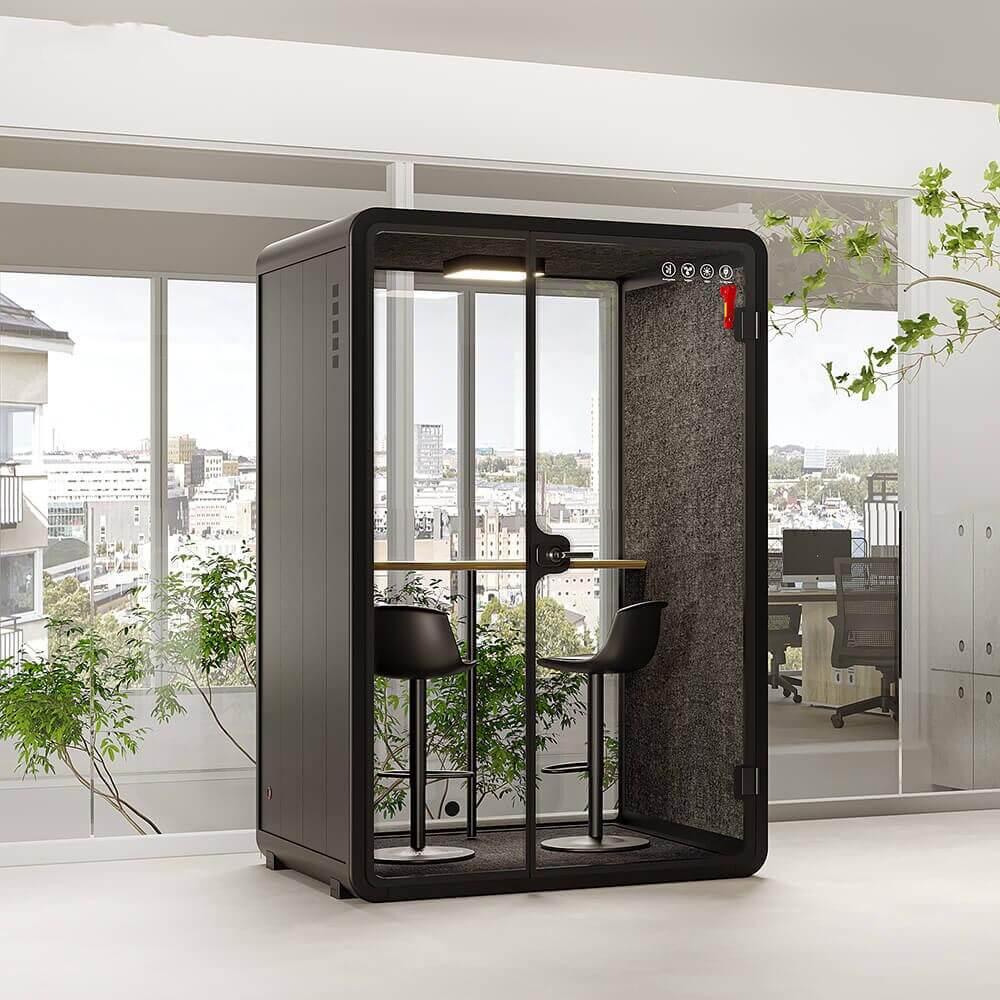
Glass makes a booth feel open, but it can reflect ceiling lights, monitors, bright clothing, and movement in the office. The remote participant may see a reflected lamp beside the user's head or repeated movement behind the camera. These distractions can make a private booth look visually busy even when the audio is clear.
Test reflection from the camera viewpoint, not only from the user's seat. Turn the screen from dark content to a white document and watch the glass. Ask a colleague to walk past the booth. Open and close nearby blinds. If the booth includes a rear glass panel, check what appears directly behind the user. A quiet wall, acoustic panel, or controlled office view usually works better than a corridor, digital display, or bright window.
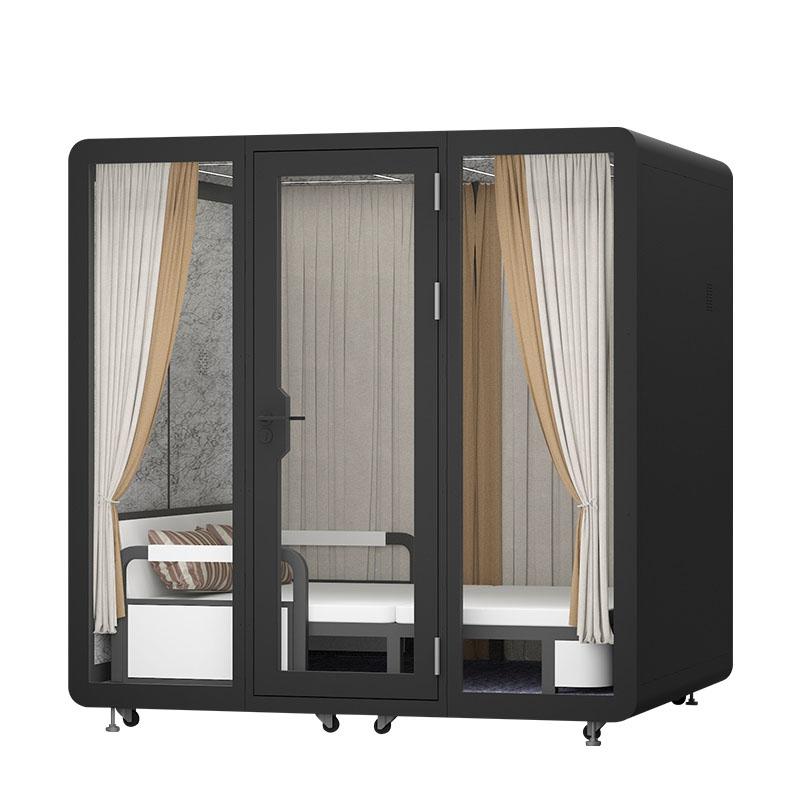
Background control does not require a decorative studio set. It requires visual order. Keep signs, exposed cables, storage boxes, and moving traffic outside the camera frame. If branding is visible, make sure it is intentional and correctly oriented. Avoid adding a loose curtain unless fire, maintenance, cleaning, and airflow implications have been reviewed.
A booth light affects more than the image. Additional wattage adds heat inside a small enclosure. The user may respond by increasing fan speed, which can add background noise or move air across the microphone. If the user turns the light down to stay comfortable, the camera may increase gain and produce a grainy picture. The three systems form one operating condition.
Run a 30-minute call with the light at its normal setting, the screen at a realistic brightness, and the ventilation at the level users are likely to choose. Note facial visibility after the camera has stabilized. Listen for fan noise through the meeting platform rather than standing outside the booth. Check whether the user feels heat at head level and whether the light creates glare on glasses.
Color temperature should also be considered in context. A neutral white source often works well for office calls, but the exact appearance depends on nearby daylight, interior finishes, and the camera. Mixing a very warm internal lamp with cool daylight can produce uneven skin tones. A tunable light can help, but only if its controls are understandable and its preferred setting is documented.
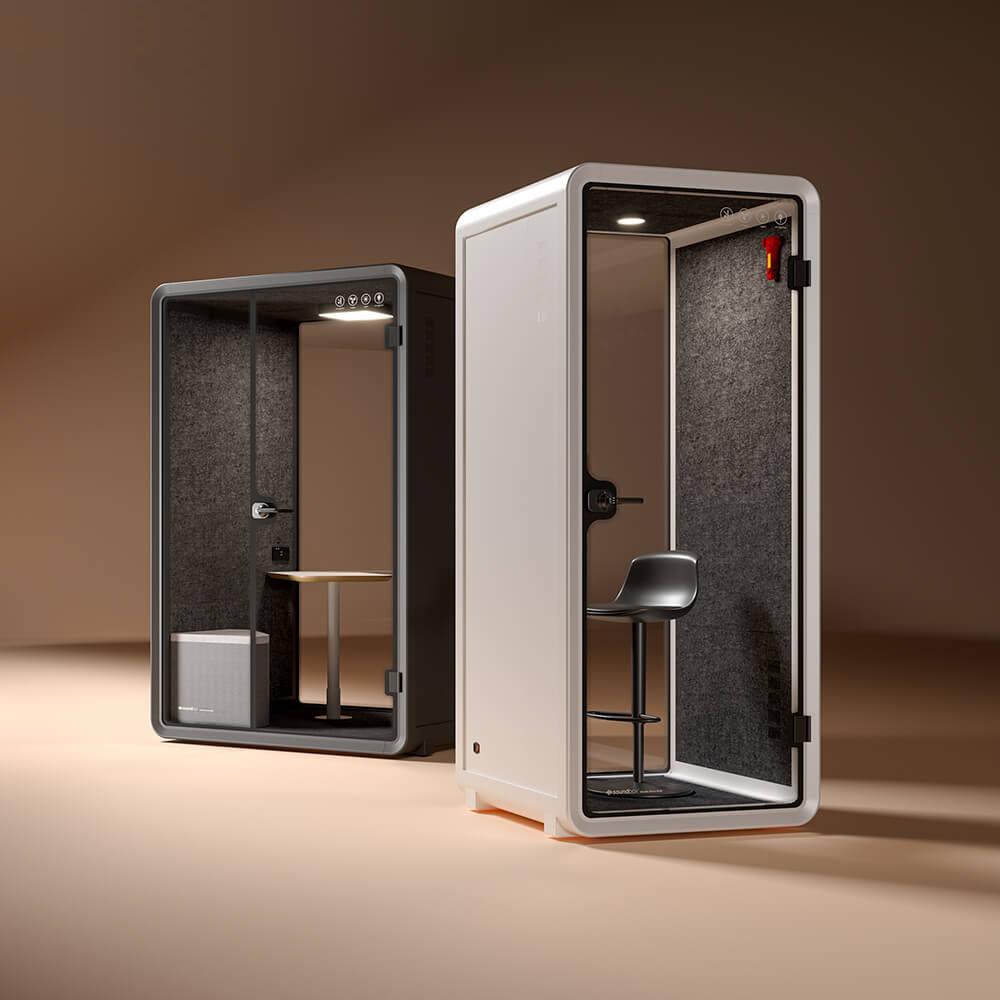
The table below is intended for facilities teams reviewing a complaint. It links a visible symptom to a practical test. It does not replace an electrical or lighting assessment when a component is faulty.
| Observed call symptom | Likely interaction | Simple site test | Possible correction path |
|---|---|---|---|
| Face is dark while background is bright | Window or bright office zone behind user | Rotate the laptop 90 degrees and repeat the call | Change booth orientation, camera direction, or background control |
| Deep shadows around eyes | Hard overhead light and low camera | Raise camera to eye level and add temporary soft front light | Review desk height, camera support, and light diffusion |
| Image changes brightness when user moves | High contrast or reflective glass | Lock camera exposure if available and compare | Reduce background contrast and control reflections |
| Glare appears on glasses or screen | Light source reflected at viewing angle | Tilt screen and move seat slightly forward | Adjust source position, diffusion, or seating zone |
| Picture becomes grainy during long calls | User dims light because of heat or glare | Record light and fan settings at the time of complaint | Balance light output, heat, ventilation, and comfort |
| Audio worsens after lighting changes | Higher fan setting or cable relocation near microphone | Compare a recording at two fan settings | Review ventilation noise, microphone position, and cable route |
A product photo cannot show whether a booth works for video calls in your office. Request a short unedited demonstration using a normal laptop or webcam. The video should show the user entering, sitting, turning on the light and fan, joining a call, and changing position naturally. Ask the supplier to state the camera, light setting, and room conditions used in the demonstration.
Review the electrical information for the light and controls, the position of the work surface, available socket locations, and whether accessories such as a monitor mount are standard or optional. Ask how light components can be accessed for maintenance. If a sensor controls the light, confirm the delay and behavior during a long meeting where the user moves very little.
For a multi-booth project, request one approved sample configuration before authorizing the full quantity. The sample review should produce a short record: preferred light setting, camera position, screen position, fan setting, and any approved adjustment. This gives installers and office managers a repeatable reference.
Acceptance should take place after the booth is installed in its final location. Temporary warehouse lighting cannot represent the finished office. Test in the morning and afternoon if daylight reaches the area. Use at least two employee heights and, where relevant, one user who wears glasses.
If the image fails, identify whether the remedy belongs to booth configuration, office placement, user equipment, or operating guidance. This prevents the supplier, IT team, and facilities team from passing the same complaint between departments without evidence.
Why does a video call look worse inside a booth than at an open desk?
The booth may have stronger contrast between its internal light, glass, screen, and external daylight. A shallow work surface or low camera can also create an unflattering angle that was not present at the open desk.
Is a brighter lamp the fastest solution?
Not always. More brightness can increase glare, reflections, and heat. First identify whether the problem is backlighting, camera height, source direction, mixed color, or exposure behavior.
Should the booth face a window?
A window directly behind the user is usually difficult for a camera. Side daylight can work better, but the result should be tested at different times because sun position and blinds change.
Can software settings solve the problem?
Exposure, white balance, background blur, and low-light settings can help, but they should not be used to hide a poor physical setup. The booth should provide a stable baseline across the main devices used by the team.
What should be included in the handover record?
Include screenshots, device names, camera and seat position, normal light and fan settings, observations at different times, approved corrections, and the person responsible for future adjustments.
Video call booth lighting fails when the booth is treated as an isolated fixture rather than part of a camera scene. Window direction, camera height, desk depth, glass reflection, background movement, screen brightness, heat, and ventilation all influence the final image. A reliable review begins with screenshots and recorded calls, then traces each symptom to a physical or operating cause.
For a new purchase, ask for device-based demonstrations and confirm the final camera, desk, light, and control arrangement. For an installed booth, test in its real location before replacing components. The best correction is the one that improves facial clarity without creating glare, heat, fan noise, or an awkward working posture.

 Tel: +8613538031763
 Email: info@sopworkpod.com
 MP/WhatsApp: +8613538031763
 Manufacturer Address:Liucheng Lujiang District,Meixi Road,Nanan City,Fujian,China